Pages

Saturday, January 21, 2012

It's working!

My plan is actually working.  I wanted to have a space where things were easily accessible for my impromptu crafting sessions.  My 9 year-old niece LOVES crafts and is always begging to do something.  So many times I have put her off (and felt guilty) because I didn't have the energy to think of something, dig it out, clear a spot to do it then clean it up again.   We have had her over twice this week and have done two different projects.  


Project 1 - Painting Wooden Christmas Ornaments

A couple of the plain wooden ornaments I had bought this year (impulse buy when I was at the store for fabric) and a few have been stuffed in a drawer for the past couple of years waiting to be painted.  Since I already had a drawer full of craft paints no additional purchases were needed for a fun evening of painting together.  Check out our masterpieces.... 

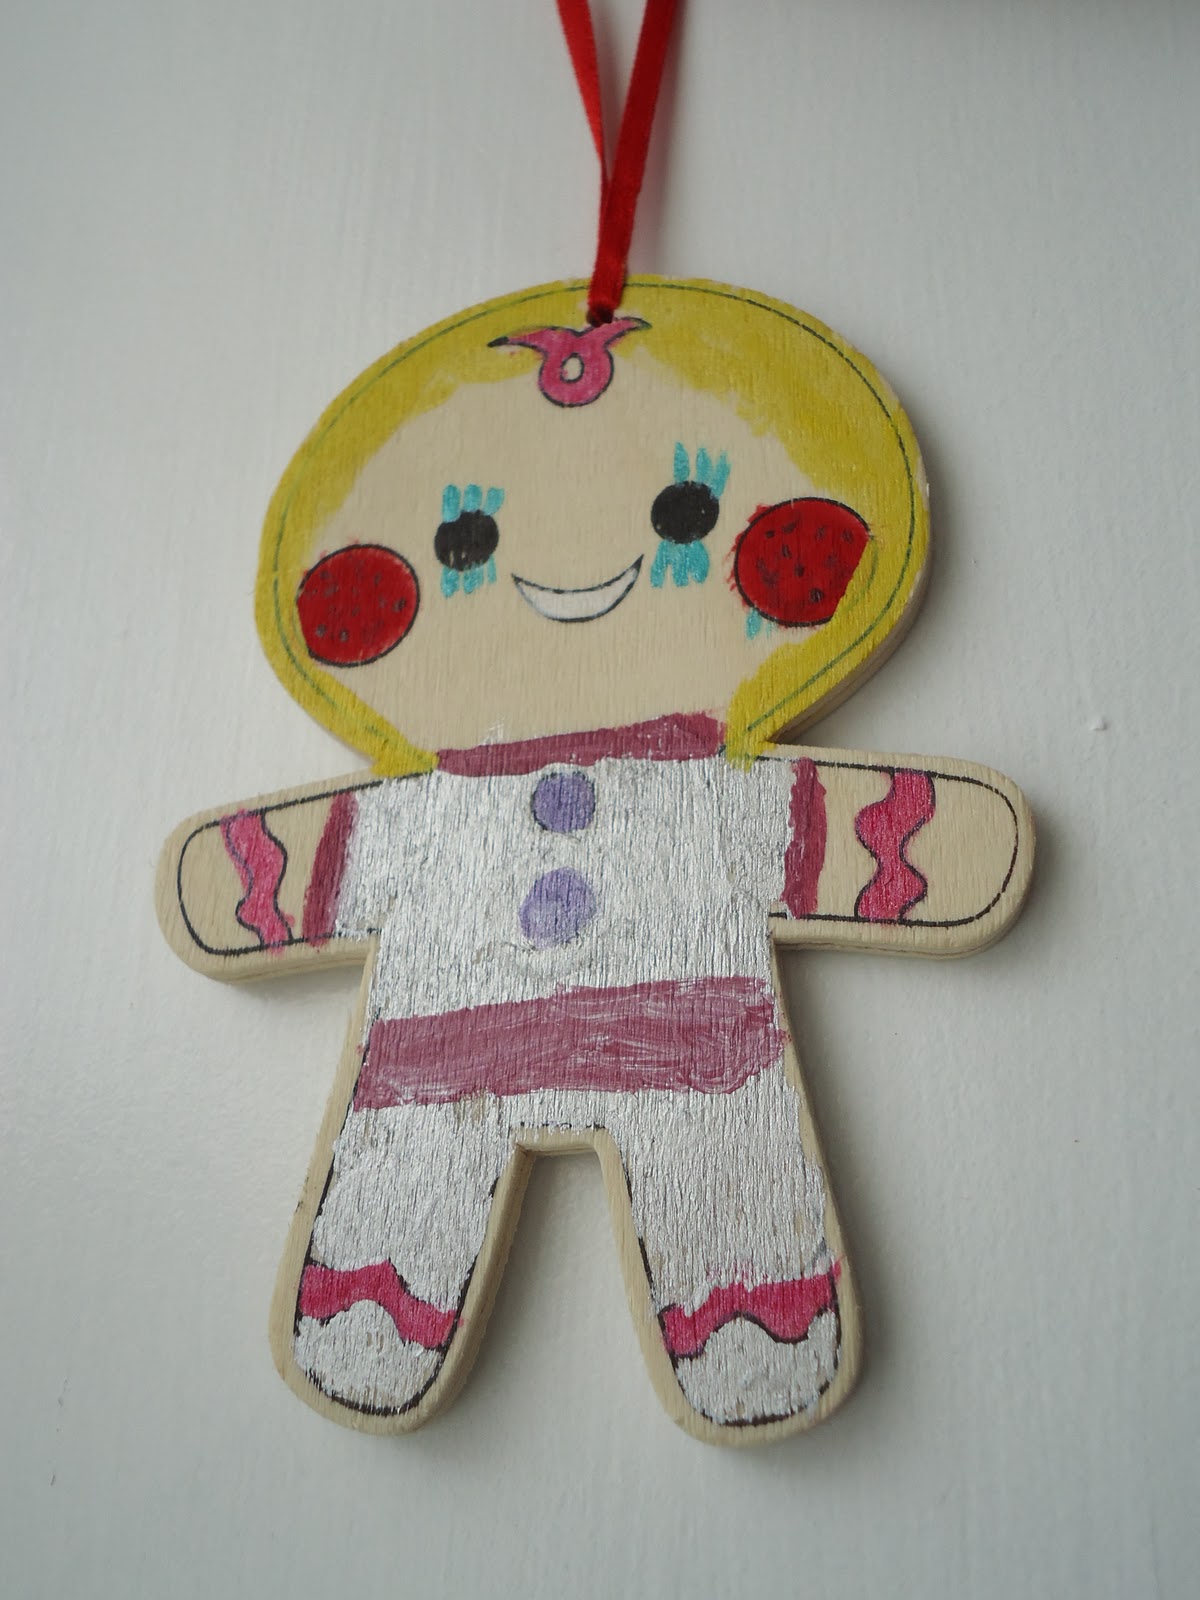
My niece's masterpiece - a gingerbread astronaut.
My husband's pretty penguin - now I have to find a tummy picture!
Christmas Kitty by me
It was a fun evening of making ornaments as well as memories.  I am happy to report these ornaments are now all tucked away with the rest of the Christmas ornaments.  I am a bit embarrassed to say the Christmas tree was just taken down today...I am a Christmas ornament fanatic and hate to have to put them away and not see them for months.  


Project 2 - Hand Warmers


Found this idea on Pinterest.  Fabric hearts filled with rice.  Heat in microwave for 20 seconds and put in your pockets to keep winter fingers warm.  I thought this would be a good use for some of my flannel leftovers from the baby blankets (see Jan. 8 post).  My niece saw one I had made and wanted us to make more.  We had a good time picking out flannel and sewing up the toasty little hearts.


Fronts


Backs
They are very simple to make.  Put two pieces of flannel wrong sides together and cut out the heart shape (I used a cookie cutter as the pattern).  Sew around the edge leaving a small opening to fill heart with rice.  Then sew up the opening.


A small funnel makes stuffing much easier!
This organizing adventure is inspirational.  I actually see what I have and get ideas of what to do with it. Then, of course, having a neat space to do it makes the whole process much more relaxing!  On a related note...I organized the pantry cabinet and found two products I'd bought to try, but forgot I had.  A delicious General Tso's sauce and a Hawaiian cheese ball mix...unfortunately neither are in the stores anymore, but we did enjoy them.  Note to self...try things sooner so if we like them we can buy more (and actually remember where I bought them!) 

I'd love to hear stories of projects you have completed from your own stash.

Anna

Sunday, January 15, 2012

Reward

Okay, so it took me a week, but I have been rewarded for making progress in my craft room.  This week I made two baby blankets for my cousin's shower.  A friend showed me how to make these blankets a few years ago and they have become my favorite baby gift to give.  I think homemade gives a little extra love :)


The day after Thanksgiving our local Joann's fabric store had a great deal on flannel - $1.50/yard.  There was a huge selection and like I mentioned before I have a tendency to buy based on the idea and not so much a specific plan.  In my mind I match the fabrics into adorable blankets, so then I just have to buy the fabric before I even know there is a baby on the way.  As a result I have several sets of flannel stacked in the craft room waiting for babies.

I think this pattern is simple enough I can make it my first tutorial attempt.   Please let me know if you try one, how it turns out and how I could improve my instructions.

First the finished product...


The first step to making the blanket is the fabric choice.  I just look for two patterns that I think are pretty or make a fun combination.  I don't  limit myself to something "babyish" - I like bold colors. There are SO many choices - be creative and enjoy yourself!    The length of fabric I buy depends on the width.  In this case the width was 44" - nice size for a square.  So I purchased 1 1/4 yards (45") of each fabric.  

Let's begin the construction...


Put flannel pieces right (colorful) sides together and pin around the edges.  Be prepared to trim the edges - although it seems like everything should line up perfectly, since they are supposed to be cut to the same size, I find that rarely happens.  

Right sides together. 

I try to line up the salvage edges so I can easily trim them and I don't  have to worry about a little white peeking through an imperfect edge seam later.

My dining room table is conveniently a 42" inch square.  I confess using the edges as a guide made for a simple trimming.  


Trimming finished.


In we go to the sewing table (recently uncovered in the craft room!)  The fabric should be pinned all the way around the edges with the right sides facing each other.  I start with about a 1/2 inch seam all around the edge EXCEPT for a 3 inch opening.   You will use this opening to turn the fabric right side out.  


Sew 1/2 inch seam leaving about a 3 inch opening on one side.  I backstitch on both sides of the opening to reinforce it.
Opening left unstitched for turning fabric right side out.
It seems a bit unlikely that you would be able to turn the entire blanket right side out through this small opening, but it is much easier than it sounds.  Reach in the opening to the far side of the blanket and gently pull the fabric back through the opening.  It may get a little tight - be patient - it will all come through fine bit by bit.  Then suddenly it is done!  


Turning right side out
Keep working it through the opening.
After the entire blanket is turned right side out we are going to put a finishing stitch around the edge.  First be sure the seam lies flat  - it will make for much easier sewing and a nicer finished product.  The fabric tends to bunch up in the corners so  I use a butter knife to reach in and poke them to create nice corners.  Then I iron all around the edge to make a nice flat even edge. 

This time sew a 1/4 inch seam all around the edge of the blanket.  The opening you left earlier will be closed by this seam.   You may find it easier to sew if you pin the opening closed before you start sewing.  


1/4 inch seam around the edge catching the earlier opening closed.
At first I struggled with a nice seam at the corner.  I would lift up the presser foot to turn the fabric and then not be able to get it lined up again - so my seam would end up with a gap in the corner.  I discovered if I could stop at the corner with the needle down through the fabric I could lift the presser foot and turn the fabric with the needle holding my place.  When I begin to sew the next side I have a nice corner seam.    


Finished edge.


So it is as easy as that!  The hardest part is trying to limit buying fabric until you actually have a need for a baby gift. I still have flannel for about 10 more blankets.  My family and friends are going to have to get busy cranking out babies!  I might just have to find a charity that distributes donated baby blankets - that would be a win/win too.


Please let me know if you found this tutorial helpful and if you decide to try it, how your project turns out.


Anna